Laura’s Gluten-Free Peanut Butter Blondies
By • September 1, 2022 0 1018
I love blondies and I love peanut butter. Together, they’re the perfect combination, especially when you add chocolate chips. Blondies are a fun alternative to cookies and/or brownies. They’re an easy snack as they’re handheld. They can be cut up into little bars so that they make a perfect treat for little ones, and they’re easy to pack and take with you. This recipe has little prep time, everything can be mixed in one bowl, and is absolutely delicious. Let’s dive in!
FAQ
How do I know when my blondies are done?
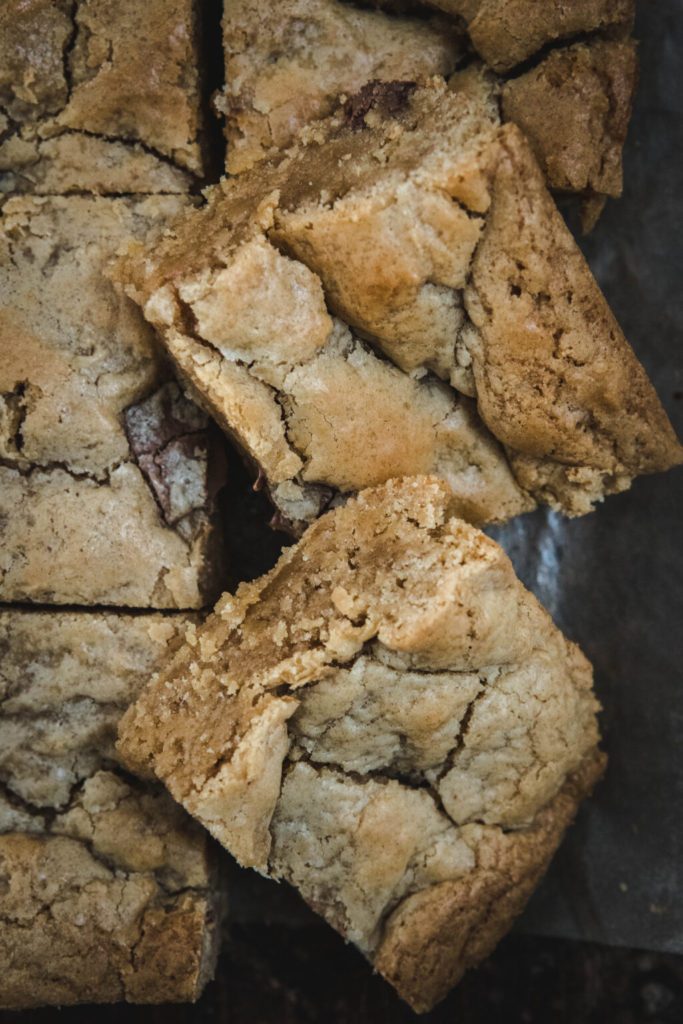
Blondies should be a beautiful golden brown on the top. In addition, you stick a toothpick into the center to see if it comes out clean. If it does, then your blondies are done! This blondie recipe is not a super long cook time, so, just be sure to check them at the appropriate time!
What tools will I need?
- Mixing bowl
- Whisk
- Spatula
- Measuring Cups
- Parchment paper (optional)
- 8×8 inch pan (or a 9×13)
Why is my blondie recipe so cakey?
It could be that you added more liquid than you should have to the recipe. It’s also possible that you didn’t fully incorporate your dry ingredients (you may have under mixed them). Over-baking is also a possibility. If you want your blondies to bake accurately, depending on the size of your pan (see further below) make sure to begin to check them at the appropriate times. Despite your oven saying it’s a certain temperature, it could be that the actual temperature in your oven is not correct and you may not get the right bake on your blondies.
Can I make any substitutions?
I have only ever made the recipe this way. Remember, not all gluten-free all-purpose flour is created equal. The all-purpose flour I use is King Arthur and if you use a different one, you may not get the same results. Typically, 1:1 flour mixes are okay in recipes like this, however, I always state which flour I use and like best!
I use chocolate chunks in this recipe, however, you’re more than welcome to use chocolate chips instead. Chocolate chips can be easier to come by depending on your local grocery store.
Can I use just one type of sugar instead of two?
I like the mix of sugar in this recipe because brown sugar typically gives a more caramelized flavor to the blondie recipe. However, if you only have one or the other, it will suffice! I will say, if you’re only going to use one, I would personally use brown sugar.
Can I make this dairy-free?
The only dairy in this recipe is butter. I have made this recipe only using regular butter, however you can try using a dairy-free alternative.
If I cannot have peanut (and therefore peanut butter) is there an alternative I can use?
I think most nut butters would suffice here. However, make sure it is not an organic butter. The oil makes it too runny and will make this blondie recipe too soft. The taste / flavor will be a bit different, but, almond butter would also be delicious!
How do I store these? Can I freeze blondies?
Yes. They will freeze for up to 3 months.
Are blondies meant to be gooey in the middle?
Yes. Blondie recipes should be a bit gooey in the center but not to the point where they are underbaked. To see if your blondies are finished baking, stick a toothpick into the center of the blondies. If it comes out clean then you’re good to go. If there’s a bunch of batter still stuck to the toothpick, then pop it back into the oven until it’s fully baked. You want your blondies to be baked!
Ingredients
- 1 stick of melted butter, 8 tablespoons unsalted butter
- 3/4 cup creamy peanut butter, do not use organic
- 1 cup light brown sugar
- 1/2 cup White Granulated Sugar
- 1 cup Chocolate Chunks
- 2 cups Gluten-Free Flour, I used King Arthur Gluten-Free Measure for Measure Flour
- 2 large Eggs
- 1 teaspoon Baking Powder
- 1 teaspoon Vanilla Extract
- Flakey Salt, optional
Combining two of my favorite things, peanut butter and chocolate, this peanut butter blondies recipe only requires one bowl, is ready in a jiffy, and is super delicious!
For full recipe and instructions go to Sift.
