Wild Thistle Kitchen: The Best Crème Brûlée
By • December 10, 2020 0 1719
In the pastry and dessert world, it just doesn’t get more romantic, more celebratory or more special than crème brûlée. People swoon over this stuff; it is elegant, irresistible and so delicious. My recipe is classic, simple, reliable and really just the best crème brûlée I’ve ever tasted.
Crème brûlée is one of those desserts that everyone loves. The funny thing is, most people think it’s terribly complicated and fancy to make. This is sneaky, sexy French simplicity at its finest: four simple ingredients composed in a way that mystifies people while simultaneously knocking their socks off. It makes you wonder why it’s served in such tiny vessels, as you desperately scrape the final bits out with your spoon and look around wondering if anyone will notice you licking your ramekin.
I created a monster — well, a couple of very cute monsters — by introducing my kids to crème brûlée very early on in their lives. It is not an uncommon dessert request around here (which I secretly kind of love). In fact, it has been my daughter’s birthday request a few times. My son always asks for it, too. He also asks if I can make it in larger dishes rather than the usual small ramekins! I can’t disagree with his sentiment there.

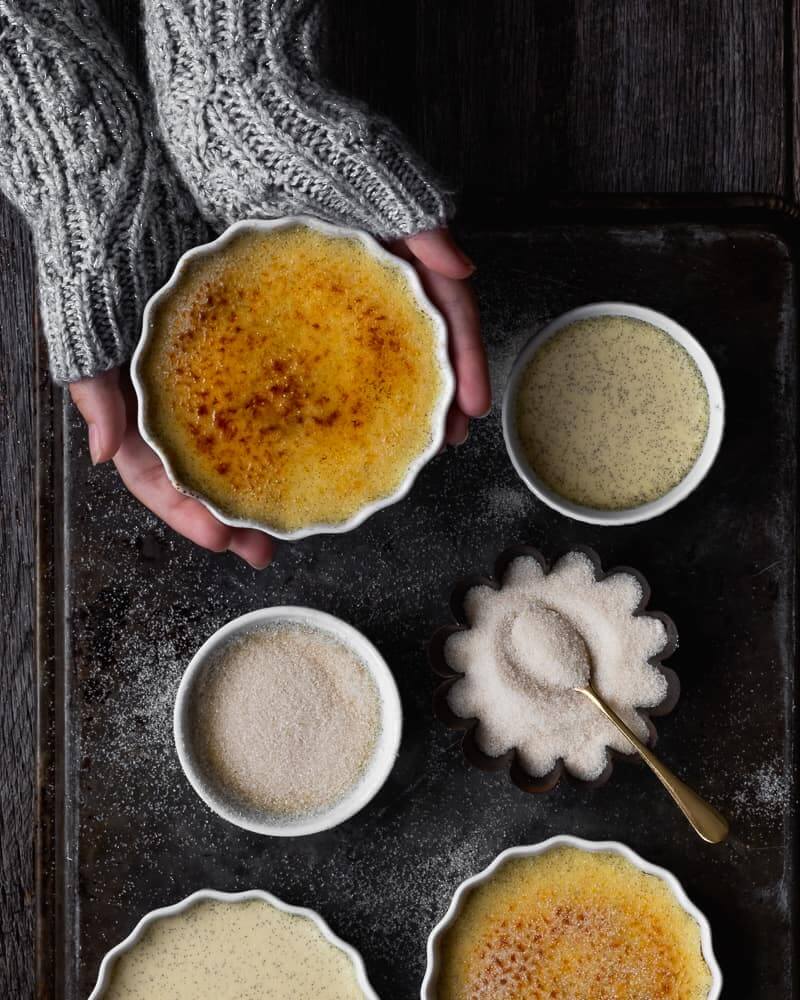
Photo by Anita Parris Soule. Courtesy Wild Thistle Kitchen.
Why is my recipe the best crème brûlée? Because it is classic, it is simple and it always turns out perfectly. It doesn’t have any off-the-wall flavors or hidden chocolate on the bottom. The custard is set, but still luxurious and creamy. It is packed with vanilla flavor and plenty of little vanilla bean flecks. And finally, it has a thin, perfectly crisp shell just begging to be cracked.
The Best Crème Brûlée
Prep Time: 30 minutes
Cook Time: 40 minutes
Total Time: 1 hour 10 minutes
Yield: 6 four-ounce servings
Special Equipment
6 4-ounce ramekins (although I have made this in small coffee mugs and very small mason jars before. When the urge for crème brûlée strikes, nothing can stop me.)
Small kitchen torch
Ingredients
1 vanilla bean, split lengthwise, or 2 tablespoons pure vanilla extract
2 cups heavy cream
4 egg yolks
¼ cup granulated sugar
Pinch of salt
A few tablespoons granulated sugar (for the crunchy top)
Instructions
Heat oven to 325 degrees and boil a tea kettle or a small saucepan of water. Place the ramekins in a baking dish large enough to hold them comfortably and set aside.
Add the heavy cream and split vanilla bean (or extract) to a small saucepan over medium-high heat. You want the cream to get hot, but not boil, so keep an eye on it. If you see bubbles around the edge, turn off the heat.
While waiting for the cream to heat, whisk the yolks, sugar and a pinch of salt in a large mixing bowl until the mixture thickens and becomes pale yellow. When you lift your whisk, a long ribbon should fall. (You can use a mixer, but I always feel like a very fancy French pastry chef when I do it by hand. Plus, it really isn’t worth dirtying a mixer.)
When both your cream mixture and yolk mixture are ready, slowly add the cream mixture to the yolks while whisking. Just as a curdle precaution, I then pour this mixture through a fine mesh sieve set over a large measuring cup (the measuring cup helps with the pouring process).
Next, divide the mixture evenly between the ramekins. Place your baking dish in the oven, and very carefully add the recently boiled water to the pan, making sure not to get any in the ramekins. Loosely cover the entire dish with foil and bake for 30 to 40 minutes. When you gently shake the ramekins, they will be very loose and wiggly still, but set. They will firm up after refrigeration.
Remove the ramekins from the water bath and let cool to room temperature, or (if you’re impatient like me) just stick them in the fridge as soon as they come out. Let chill for 3 to 4 hours. At this point you can let them sit in the fridge, covered, for 3 days before moving on to the next step.
The next step: 5 to 10 minutes before serving, sprinkle each ramekin with a light dusting of sugar. I like a very delicate layer of crispy sugar, but if you like it thicker, just add more sugar. Holding your kitchen torch close to the surface of the crème brûlée, move slowly and constantly back and forth until the sugar bubbles and turns a caramel color. The sugar will harden within seconds.
